Invoice Plane: mPDF taking a long time to generate pdf files remotely

I had an issue where if I was using my outside domain address to connect to the web server it would take roughly 4 minutes to generate a PDF after googling for what seemed like an eternity I saw something that caught my eye in a random discussion about mPDF not related to invoice plane.

So, firstly PDF’s generate fine when using a local address eg http://192.168.10.2/iplane but if i connected to it using wagex.org/iplane it would take minutes to generate a PDF or send an email with PDF attached.

SOLUTION: enable SSL on the web server and connect using https, yes its that simple that solved my issues all together.

dumb short topic i know, but holy cow it took me forever to find that fix and it had nothing to do with invoice plane so hopefully someone having the same issue finds this and it helps.

Thank you for reading!

Current Server Setup 2/18/2018

Man its changing quickly figured it deserved another post since I’ve added another server into the mix to handle the video camera recording. Reason being using Intel Quicksink on the newer Intel cpu’s takes a huge load off of the cpu and saves a ton in power consumption, also I wanted to learn how Active Directory and Domain Controllers worked.

Server 1:

The OG server is running server 2012 r2 Datacenter with hyper-v for the virtual machines.
For main storage there is an array of 5x 2TB hitachi drives in Raid 5. contacam has its own 1tb blue. There is a 2tb WD green I use to offload raw footage from my cameras onto, finally the operating system with the rest of the vm disks are on a WD Blue 1TB SSD

Continue reading “Current Server Setup 2/18/2018”

Setting up Transmission and OpenVPN on Debian using only CLI, with auto start and VPN up check script. Private Internet Access

To begin, lets start with installing Transmission and OpenVPN.
To install Transmission

sudo apt install transmission-daemon

Once it is installed you will want to access the web GUI from another machine so lets go into the settings.json and tweak a few things so you can access it. 

First we need to stop transmission 

sudo service transmission-daemon stop

Then with your favorite editor go ahead and open the settings file, I prefer nano so 

nano /etc/transmission-daemon/settings.json

We need to just change a couple lines, where I have 192.168.10.* type your lan range be it 192.161.* or 192.168.0.* the * is a wildcard that will let anyone on your lan access the transmission web-GUI.

“rpc-authentication-required”: false,
“rpc-bind-address”: “0.0.0.0”,
“rpc-enabled”: true,
“rpc-whitelist”: “192.168.10.*”,

Continue reading “Setting up Transmission and OpenVPN on Debian using only CLI, with auto start and VPN up check script. Private Internet Access”

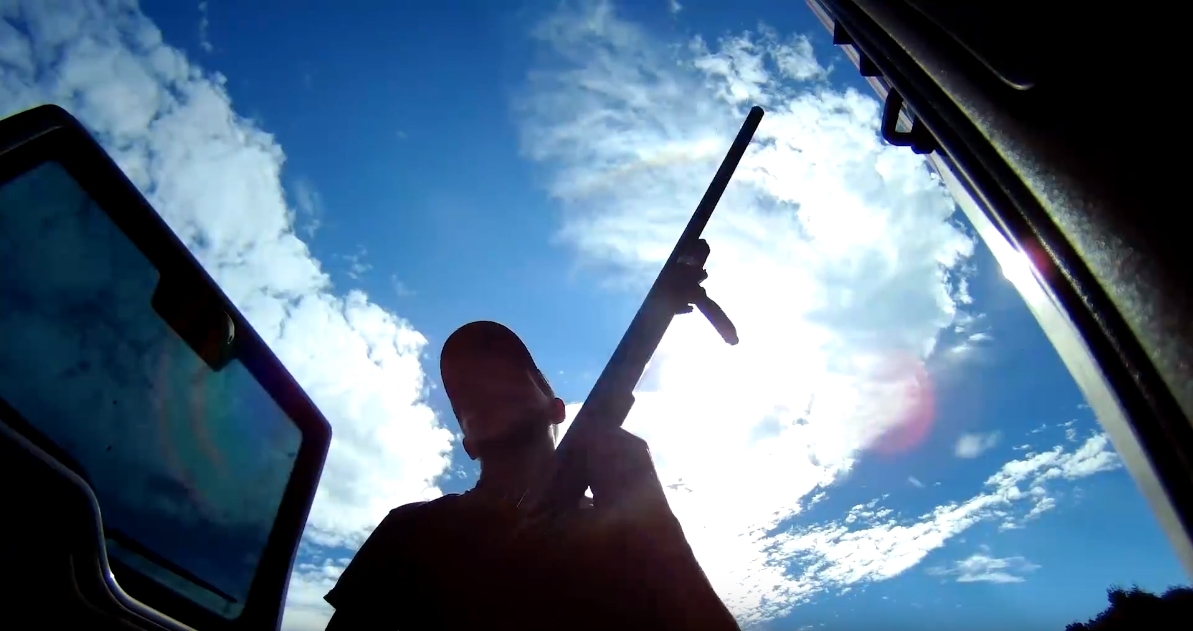
Hunting with the SA Sports Fever recurve crossbow.

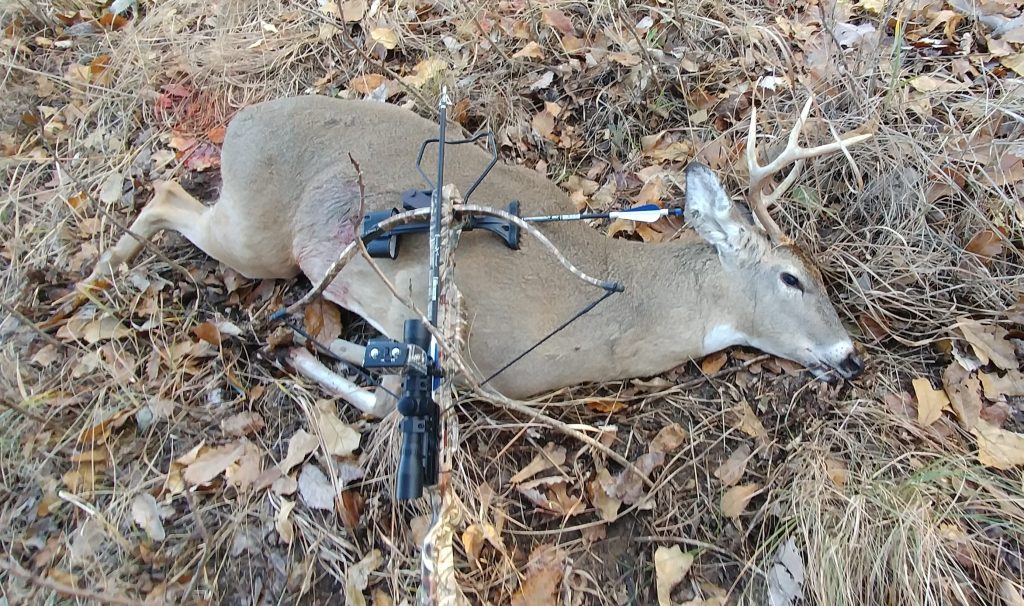
It started whenever I realized that I had been borrowing my wife’s uncle’s compound bow for 3 years and I wanted to return it to him, also with my shoulder getting progressively worse a lighter poundage bow or perhaps a crossbow would do me some good, so the research started and i came upon this starter set for $120 on sale it came with bolts, the bow, a scope, and some field points. After some research I figured out it had plenty of energy to take white tail deer though I was still kind of concerned it was borderline, though I went ahead and pulled the trigger on Amazon.

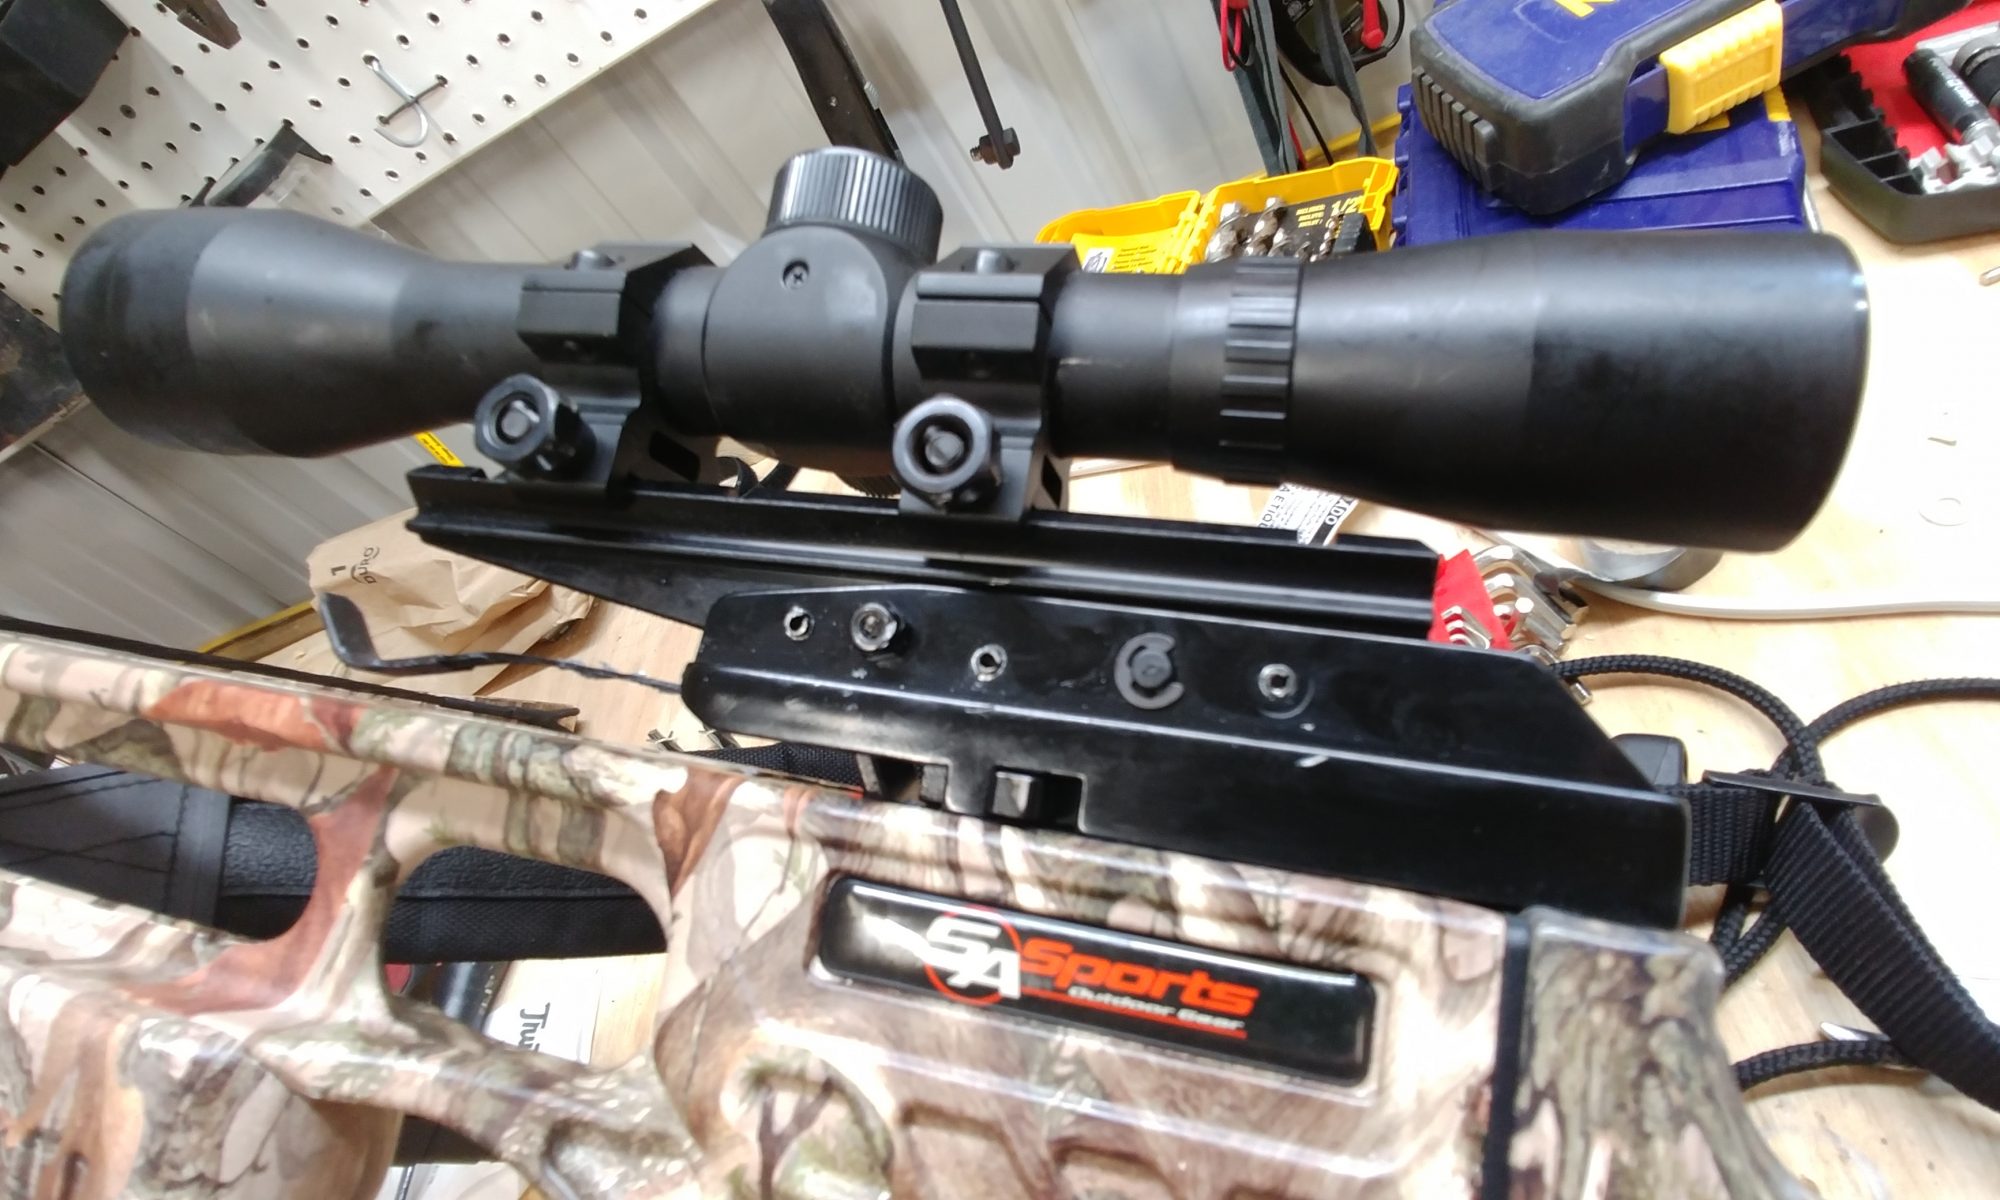
When I received the bow I was excited to get it put together and fire it, after a few shots I already had bent all of the aluminum bolts that came with it, and ended up buying some cheap carbon express wolverine 20″ bolts from Walmart and some cheap Allen broad heads and extra field points. To improve the accuracy I modified the scope rail because the scope already had yardage markers, and the play in the mount due to the zeroing system built into it kind of hurt the accuracy a bit, so I pinned the mount in place so it couldn’t move, you can see the process and data HERE.

Continue reading “Hunting with the SA Sports Fever recurve crossbow.”

How did I miss?

I think I have the buck I shot last year haunting me, I cannot for the life of me slow down and concentrate on what im doing, 3 weekends in a row shot and missed 3 deer from not taking an extra half a second to make sure im using the correct range marker in my scope that buck fever tho.

Hopefully i can get past this i had it really bad for 3 years with rifle, after i harvested my first deer i haven’t got buck fever with a rifle since. It’s pretty rough knowing that in the last 3 weekends i could have put 3 deer in the freezer but my nerves caused me to lose out. 

Two of the three deer ive shot at were at 30 yds and for some reason I used the 20 yd marker for both, shot went right under. Then the one i had at 20 yds…… i used the 30 yd marker. In practice I don’t have any issues ranging and shooting guess i just need more practice. Thanks for reading and watching! More videos coming soon.

Current Server Setup 11/1/2018

The server has changed in many ways since its first build with an old 775 socket celeron and 2gb of ram, to a dual xeon 771 setup, to a dual 6 coreopteron with 32gb of ram, back to a xeon 771 with 32gb of ram, and now its an i3-2120 i5-2400 with 16gb of ddr3 ram.

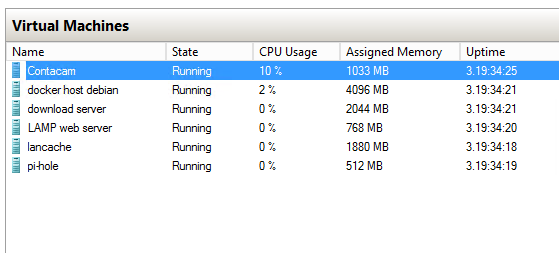
The server is running server 2012 r2 Datacenter with hyper-v for the virtual machines. here is a quick rundown of the virtual machines.

For main storage there is an array of 5x 2TB hitachi drives in Raid 5. contacam has its own 1tb blue, lancache has its own 300GB 10k velociraptor, there is a 500GB seagate I keep images of most of the vm’s on. finally the operating system with the rest of the vm disks are on a samsung 250GB samsung SSD.

Contacam: Running windows 10 ltsb and contacam software to manage my home security cameras. [4 cores 1GB-4GB dynamic meory]  
switched from contacam to motioneye in a docker, much less resources pretty cool webgui overall better imo.

switched from contacam to motioneye in a docker, much less resources pretty cool webgui overall better imo.

Continue reading “Current Server Setup 11/1/2018”

Crosstour CT9500 4K 20.0 MP action camera Review

Before we get started, here is an updated firmware I received from Crosstour to enable the menu item “beep” that turns off the beep sound every time you press a button. 
To flash the firmware simply copy all of the files inside the folder onto the microSD card, insert it into the camera and then power it on, a blue light will apear and flash some eventually the camera will come on all by itself do not take out the battery or mess with it while this process is taking place. After flashing the new firmware be sure to go into the settings and set defaults or else it causes funny issues like webcam function not working. 
CT9500-firmware-V2.1.0.3-A.zip
firmware update (mirror)

Here are some specs directly from Crosstour.

Video Resolution: 4K(30fps) 2.7K(30fps)1440P(60/30fps) 1080P(60/30fps) 720P(120/60fps)
Image Resolution: 20MP, 16MP, 12MP, 5MP, 3MP
Lens: 170°A+ high resolution wide-angle lens with Seven-layer glass F/1.8 large aperture and Sony IMX377 Sensor
Wi-Fi Connection:  Android/IOS supported
Battery: Two Removable 3.7V 1350mAh Li-ion batteris Waterproof Case
Depth Rating: 40m/131.3ft
Dimensions: 61*45*24mm/2.41″x1.78″x0.95″
Storage: 8 – 128GB micro SD card support(128GBMax) require Class 10+

Continue reading “Crosstour CT9500 4K 20.0 MP action camera Review”

SA Sports Fever Crossbow Accuracy modification.

Last year I bought the Sa Sports Fever Crossbow off amazon for about $120, after receiving it, trying it out.. I was pretty happy with it I was able to hold a decent group at what i thought was max range on the crossbow being a cheap recurve I figured 30 yards tops. most of my shooting was about 20 yards. i did notice that the scope mount was a little wobbly because of the range compensating "feature" that the mount has, you can click a knob between 1-10 and it compensates for the range and bolt drop. The downside is the mount is not solid, its held in place with a spring... not great, which is a reason a lot of the reviewers ive seen say they wouldn't use it for hunting purely ethically they couldn't trust the scope to be on target every shot, though it has plenty of power to bring down small to medium game such as a white tail deer.

That got me thinking, if i were to drill through the pivoting point in the mount in two spots and press a couple roll pins in it that would eliminate any kind of play it has. Not to mention the scope it comes with already has a drop reticle with 10-20-30-40-50 yd marks so the mount is kind of moot anyways. 

This article will show my methodology of fixing the mount and have some data as to how the groupings changed (if at all). To start i will shoot a total of 9 shots before and 9 shots after at 30yds or 90ft. they will be in 3 shot groups i will measure the group after each 3 shots and come up with an average total group size from before and after.

Here is a list of tools and supplies needed to do this project.

  • 1/8" drill bit and drill.
  • 1/8" roll pin.
  • small hammer.
  • roll pin punch or something to tap on to not damage the pin or bow.
  • masking tape if you want to protect your stuff.


[table “” not found /]

group number spread in inches
group 1 1.125"
group 2 .625"
group 3 1.625"
avarage 1.125"


As you can see from the data above "stuff n things happen maybe it worked maybe it didn't the white wizard will know"

video: coming soon

insert gallery of mod here

DIY shotgun phone mount (revised for modifications)

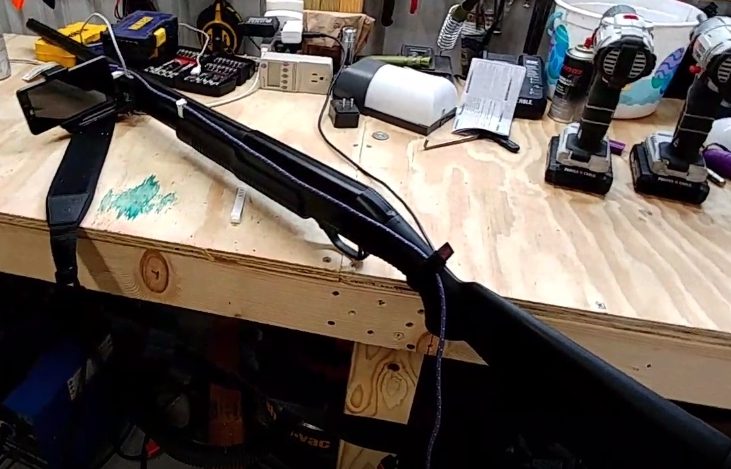
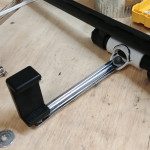
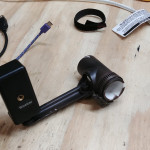
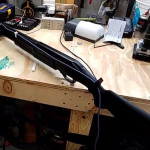
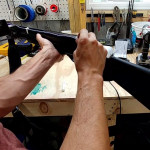
To help with my hunting streams ive purchased a couple of tripods over the past couple years which are nice except when im moving around a bunch it can get tiresome to keep folding them up and down bending the legs or what ever, i was shopping around for some mounts on amazon but couldn’t really find anything that did what i wanted which was to clamp on and hold the camera out to the side and horizontal, on my rifle something that clamps on top wouldn’t be bad because i have a scope, on this i need line of sight down the barrel so i can aim. The best part is i had most of this stuff just lying around in the shop i only had to buy the hose clamps, so this cost about a buck.

REVISION: I had to add another hose clamp to hold it still, and the socket rail was too thin and flimsy made my phone vibrate all the time, so i replaced it with some 1/8″x1″ steel strap cut and bent to fit. I still need to find a way to more securely hold the phone on it fell out of the clamp about 75% of the time i shot.

Parts list:

  • 3/4″ pvc T fitting
  • metal bar from an old socket rail with the clips removed. 
  • 1/8″x1″  steel strap (the socket rail was too thin and flimsy)
  • 2x 1/4″ x 3/4″ bolts with nuts ny-lock is best for this application
  • 1x phone clamp this is what i used very tight spring loaded grip
  • 2X .75″ – 1.5″ hose clamp
  • 1/4″ drill bit + drill

Tools Used:

  • hacksaw
  • sandpaper
  • die grinder with cutoff wheel
  • 7/16 end wrenches
  • spray paint [flat colors for camo effect..ish]
  • flat head screw driver