My cousin and i have talked about it for a few years connecting our two networks so we could share information back and forth mostly movies and tv shows, while at the same time not sharing an internet connection. we finally stepped up and decided to do it and here is how.
required supplies:
- direct bury rated or UV resistant cat5e or cat6 depending if you have to bury it or if it will be exposed to sunlight.
- two point to point network bridges rated for the distance you need to travel or more if you want better reception. here’s what we used be sure they support WDS bridge mode
- trenching tool if there is no LOS from building to building, i just used a manual edger and just wiggled it back and forth to open the crack up.
- patch cables to plug your bridge into your pc for initial setup
- better than average router for my example i will be using a pfsense machine with a quad port gigabit adapter your run of the mill netgear won’t get the job done.
- a little bit of networking and internet knowledge goes a long way.
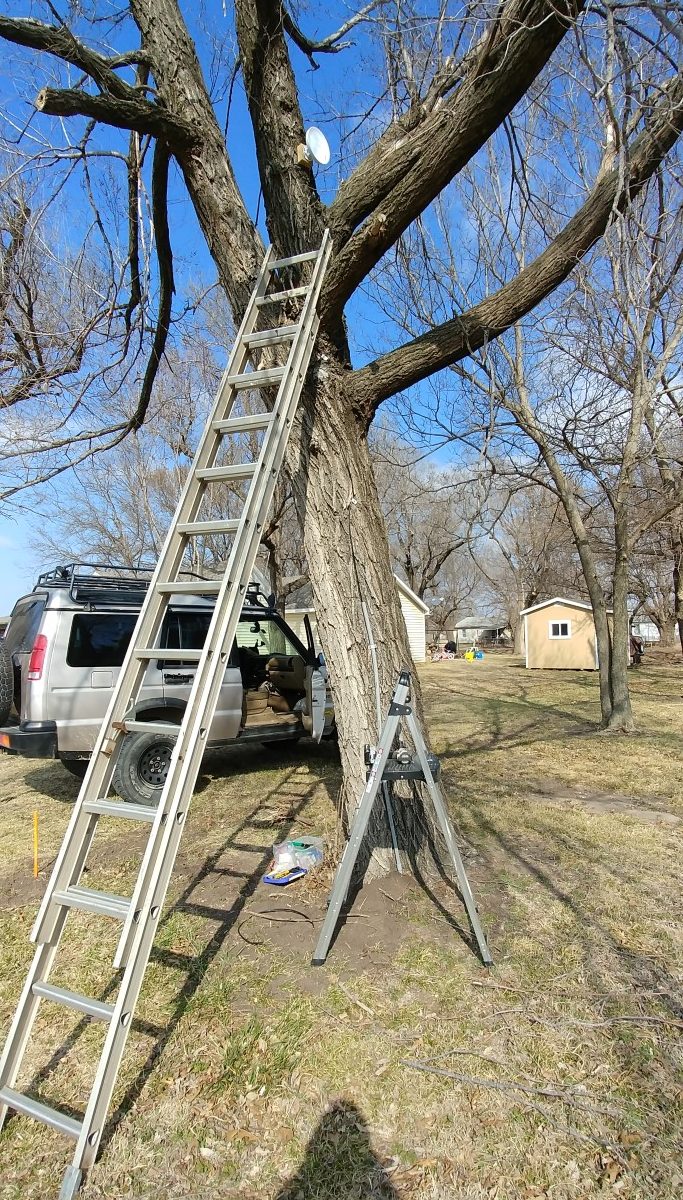
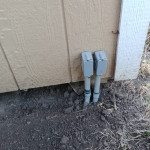
first thing to do is get your cat5e or cat6 line ran, weather you are going to be installing it on your roof or on a pole out in the yard.
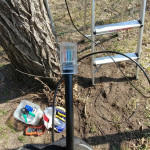
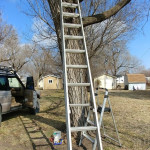
after you have your line ran to where you need it go ahead and get your antenna mounted using the supplied screws and or fasteners, be sure if doing a line of sight installation that the antennas will have enough rotation to be able to align.
once mounted and you have your cat5e hooked into the lan port hook the other end of the cat5e into the POE injector where its labeled POE , then use your patch cable to go from the poe injector to your computer, and power up the antenna by plugging the PE injector into the wall.
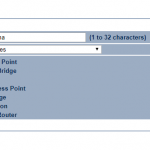
follow the instructions on your antennae guide about how to set them up usually it involves logging into a web gui and changing settings there. When doing this you DO NOT want to use one as an access point that will cause a bunch of headache… trust me we went through that.
set both devices as a WDS bridge and you will need the MAC address off of each device, put ones mac in the other and vice versa, they each need to have each others mac plus the AES encryption password the same on each antenna.
If you attempt to use one as a bridge and one as a wifi access point it causes a ton of issues later on, this way using WDS makes the connection transparent as though you took an ethernet cable and plugged them directly into each other. another thing to do would be to go into the ip settings and assign them an ip address inside your transit network so you dont lose them in later steps.
ok, now that we have the antennas put up, powered up and linked together lets move on to the routers. you are going to need 3 ports, one LAN one WAN and one for the transit network. you will want both of your networks on a different subnet but same subnetmask. example mine is 192.168.10.0/24 cousins is 192.168.50.0/24
i will explain how ours is setup but wont go into great detail on how to do it its pretty self explanatory, if you have much experience in pfsense. the WAN and LAN will auto configure when you install pfsense then to add the transit network you go to INTERFACES> (ASSIGN) assign your available nic as an interface, then go back to interfaces at the top and select that new interface usually opt1 by default. set ipv4 configuration type to static ipv4, then under ipv4 address give your opt1 an ip address for mine i did 192.168.30.1/24 and on my cousins opt1 we assigned it 192.168.30.2/24.
in order to get our networks to talk to eachother you need to
at this point this was our setup
me
lan 192.168.10.1/24
opt1 192.168.30.1 “transit network”
static route 192.168.50.1/24 -> 192.168.30.2
him
lan 192.168.50.1/24
opt2 192.168.30.2 “transit network”
static route 192.168.10.1/24 -> 192.168.30.1
After getting those setup you will want to go to firewall>rules and add a rule in the opt1 tab to allow any traffic to opt1 from any source or any destination and any protocol you will also want to go to the LAN tab and set a rule to allow all from opt1 net.
after that is saved, and done on both ends you should be able to connect the antennas up to the opt1 on each side and have a successful connection!
